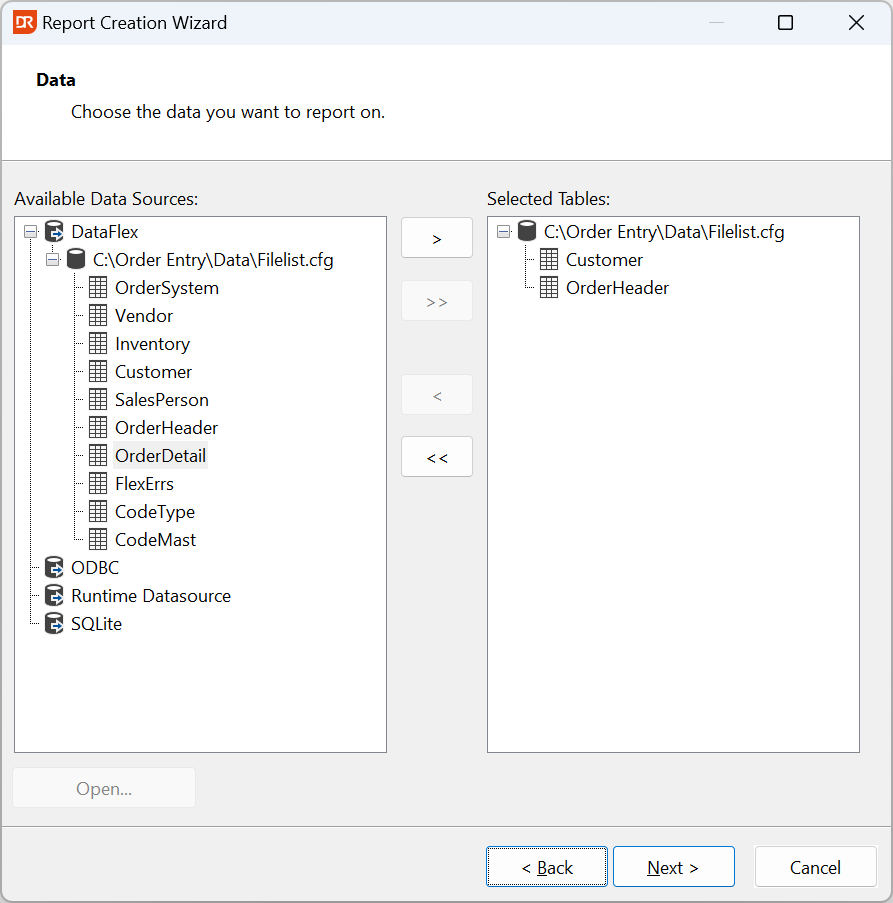
4. Select the tables
The wizard page shows a selection can be made from a list of four data-source types. For illustrating the use of the wizard in this help file, the DataFlex 'Order Entry' sample workspace (which uses the DataFlex embedded database) is used.
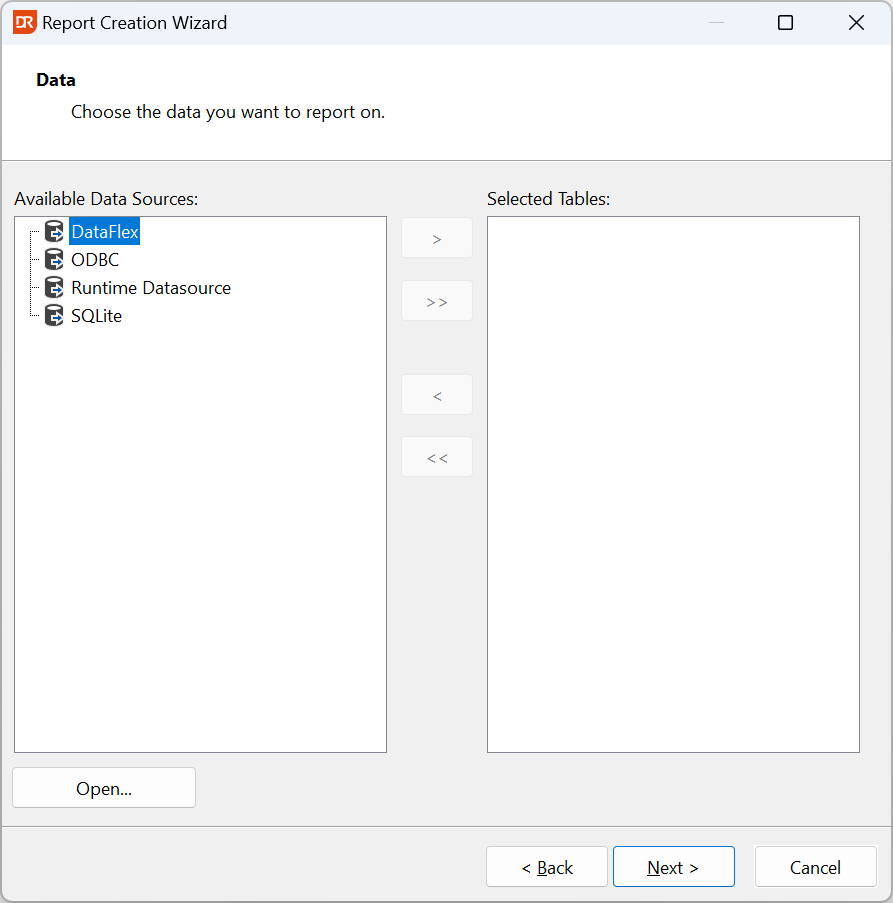
Selecting DataFlex brings up the Windows common file selector dialog. Use the Windows folder structure listed to find the location of the DataFlex database. There are four options available:
- Select a .WS or .SWS file
- Select a database (typically filelist.cfg)
- Select a DataFlex embedded database table
- Select a connectivity kit intermediate file (.int)
Option 1 is the preferred choice as it can construct a data-source path from the DataPath entry read from the .WS file, making it possible to open all tables when the data table files are not stored in a single folder. If all data of a workspace is located in one folder, or when there is no .WS/.SWS, option 2 is the best one to use. Option 1 automatically uses the same DataFlex configuration file describing the available tables as the application written for this data-source. With option 2, one needs to select the description file manually. The configuration file is most often named filelist.cfg.
Option 3 allows selecting database table files from the same or different folders. This works fine, but changing the location of the data folder(s) is much more work than when using option 1 or 2.
Option 4 is available but not advised. This option provides flexibility of data-sources for the report (the same report can be deployed on a DataFlex embedded database as well as an ODBC (such as MSSQL, Oracle, etc.) database without changing the report). However, it is not recommended as the report execution speed is less than optimal, and as the amount of data expands, the reports become slower and slower. Consider using RDS (Runtime Data-source) as an alternative.
Expand the treeview to show all tables (and in the case of ODBC, views and stored procedures).
A table can be added by double-clicking on the table name or by using the buttons in the center of the dialog. The buttons in the middle can also be used to add all tables or remove tables from the list of tables for this report. If there is only one ‘>’ or ‘<’ symbol on the button, it applies only to one table; otherwise, it applies to all tables.
Action
- Select DataFlex
- Browse to the DataFlex Examples folder, select from Order Entry examples (Windows or Web)
- Select the SWS file in the root of the example folder
- Select the Customer and Orderheader table