Standard Windows Applications Features
Windows Applications built with DataFlex have a lot of features built into the standard application framework. Some of these features are specific to database applications, typically those defined by data dictionaries, and many are typical of any Windows application, such as toolbars, menus, and floating popup menus. You will see some of these features here, and you will discover many more as you continue to learn DataFlex.
Data Entry and Data Dictionary Features
-
With "My First Windows Application" open in the Studio, click on the Run button on the Studio's toolbar. The Studio will compile, then run your project. When the program is running, select Customer Entry from the View menu.
-
Take some time to appreciate the features of the data entry view in this application.
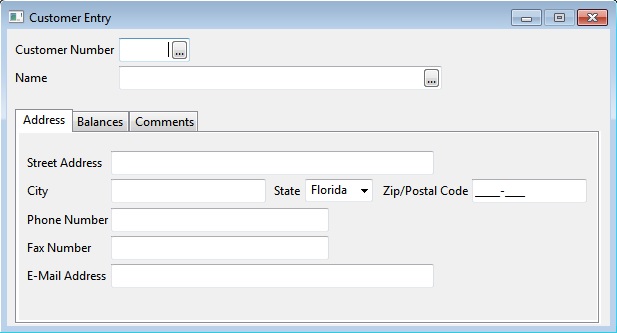
The view starts out cleared, so the user is ready to enter a new record.
-
Notice that the State field's value is defaulted to "FL", as it is set up by the Data Dictionary. If you click on the Balances tab page, you will see the other defaulted field value, 1000.00 for the "Credit Limit" form.
-
The "Customer Number" and "Customer Name" forms have "prompt buttons" (...) in them. These buttons are automatically added to data-aware forms via the Data Dictionary when the field has a lookup list defined for it.
-
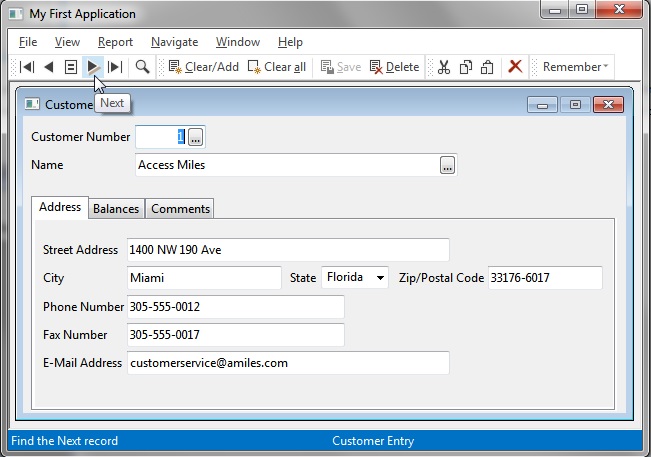
Click the (Find) Next button on the application's toolbar.
-
Click on the prompt button in the Customer Name window or press F4 while in that window. The lookup list you created earlier pops up.
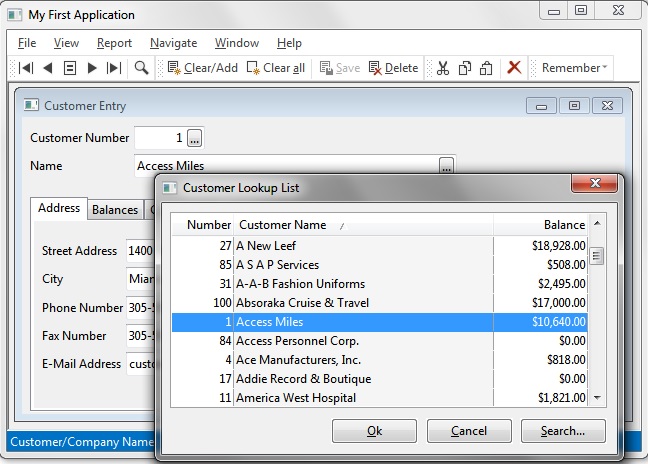
Observe that the lookup list popped up with the current record selected. It is sorted in "Customer Name" order, because that is the field from which you popped up the list. You can resort it by "Customer Number" order by clicking in the Number column.
If you click in the Customer Name column again, the sort order changes back to sort by this field. You can also start typing the first few letters of the customer name you want to find, and the lookup list will jump into the list at that point.
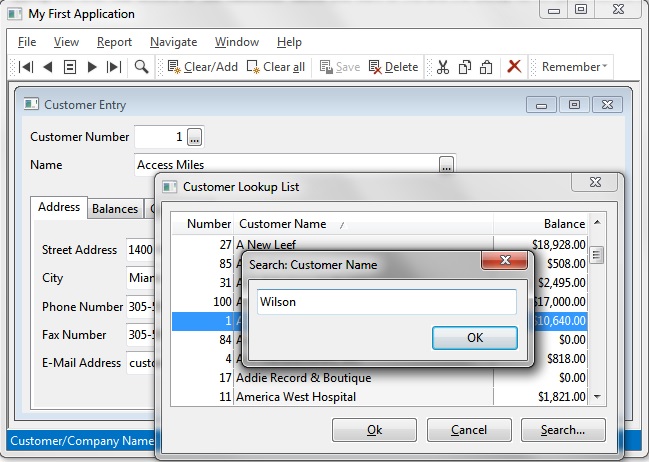
Once you have found the desired record, you can press Enter to return to the view, and the selected record will populate the connected windows in the view.
Standard Application Features
- While in either the "Customer Number" or "Customer Name" forms, try clicking on some of the toolbar buttons, such as Find Next.
Standard Toolbar
By default, a predefined toolbar is included in your application, which includes a lot of predefined features. You have already used the Next toolbar button to find the next record. There are several other buttons on the toolbar for record finding.
If you place the cursor over any toolbar button, it pops up a tooltip with a short description of the button, followed by the shortcut key for the button. While your cursor is over the button, you will also see a longer, more descriptive explanation of what the button does on the status bar at the bottom of the program.
-
The Clear and Clear All buttons are for clearing the current record, which returns you to the blank record stage that you saw when you first opened the "Customer Entry" view. This gets the view ready for the user to enter a new record.
-
The prompt (...) button on the toolbar does the same thing as the prompt button in a specific form.
Most of the above buttons are context-sensitive. For example, if you click on the prompt button in a form for a database field that does not have a "prompt object" or lookup list defined, nothing will pop up.
-
The Save and Delete buttons are for saving and deleting the current database record.
-
The Remember combo button allows you to remember the current value in any data entry object (DEO). This will make that value the default value for that DEO when you clear the view to create a new record.
The remainder of the buttons on the toolbar are for the standard Windows features: Cut, Copy, and Paste.
Try the buttons on the toolbar in your sample program to become familiar with them.
- While still in a form in the "Customer Entry" view, click on the File menu.
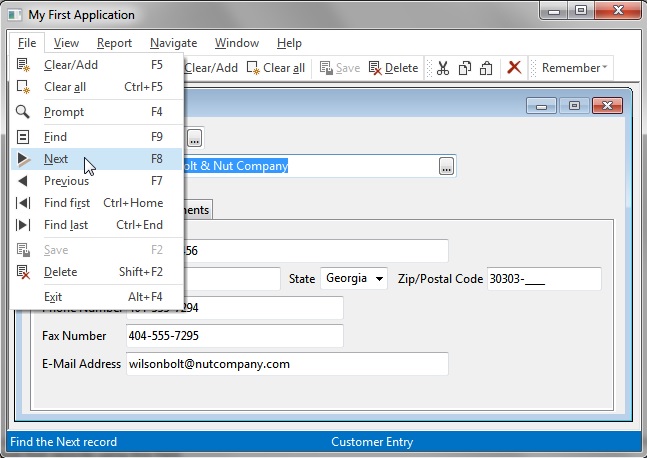
Note that, depending on the form that is currently selected (the cursor is in), some of the items on this menu may be disabled. For example, if, as shown in the image above, the selected form is for the "Street Address" field, the Find, Next, Previous, and other finding operations are disabled. This is because this database field is not indexed, so the user cannot find records using this field.
Standard Menus
Many of the features represented on the toolbar are also on the standard menus. All the menus you see in your application are standard for all DataFlex Windows applications.
For each View and Report View that you add to your program, the Studio automatically adds a menu entry under the View and Report menu items.
-
Right-click in any form in the "Customer Entry" view.
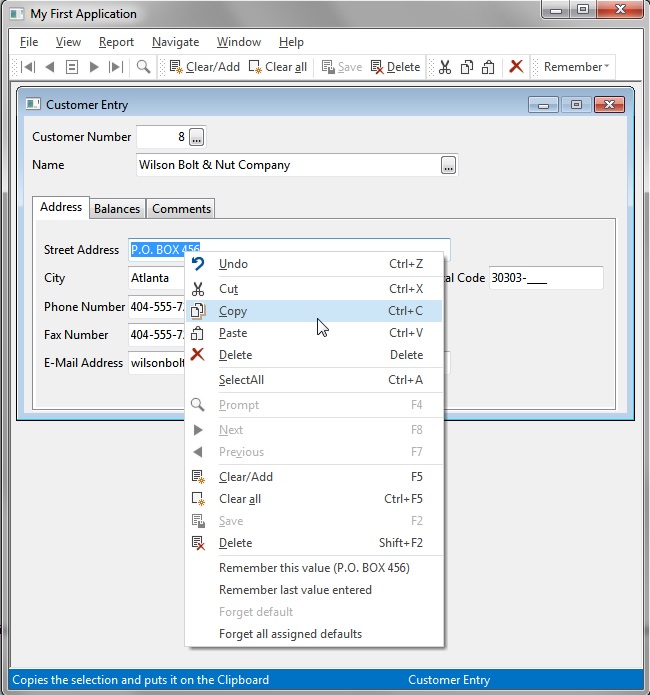
You will see a context menu pop up. This menu includes many of the features that you have already seen in the application's toolbar and menus. This menu is also context-sensitive. The items listed and the items that are available (enabled) will vary depending on the type of object you pop this menu up in and its database and data dictionary options. -
Close the application and return to the Studio.
Open the Order Entry sample workspace from the Start Center (OrderEntry.sws) or from File > Open Workspace.
Make sure Order.src is the current project. Click on the Projects menu, then select Project Properties...
This will bring up the "Project Properties" dialog.
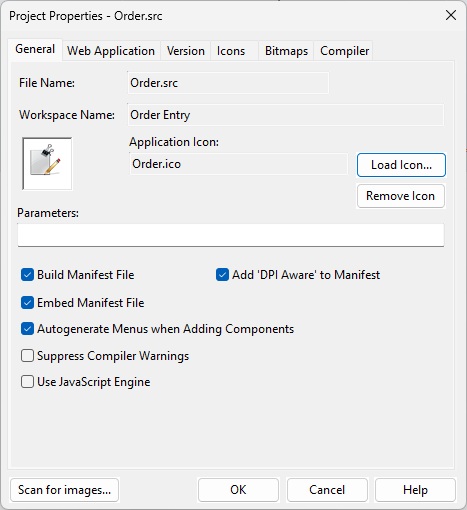
Here you can tell the Studio whether to automatically generate menus for your application when adding (creating) components in the Studio.