Creating a Lookup List
You are going to add a Customer lookup list so that users can easily find existing Customer records.
Lookup Lists
Lookup lists are separate components that are typically popped up from other components, such as views, to allow listing and searching for records.
Tip
Ensure that the Current Project in Workspace Explorer is a Windows Application, not a web application. If you try to create a Windows project component, such as a view, and the current project is a web application, the Studio will display an error message and not allow you to create the component.
Steps to Create a Lookup List
- Click on the Create New button on the Studio’s toolbar.
- Click on the Dialog / Lookup tab of the Create New... dialog.
-
Double-click the Lookup Wizard icon.
-
Read the explanations on the first wizard page of what this wizard will do and click Next.
-
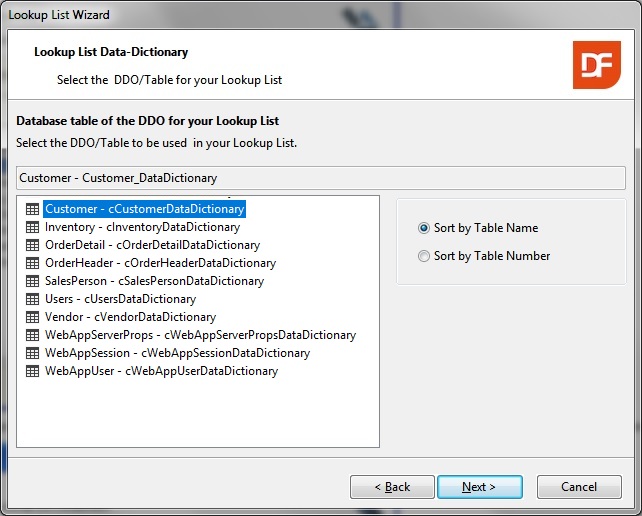
On the "Lookup List Data-Dictionary" wizard page, click on CUSTOMER - Customer_DataDictionary to select it as the data dictionary to be used, then click Next.
-
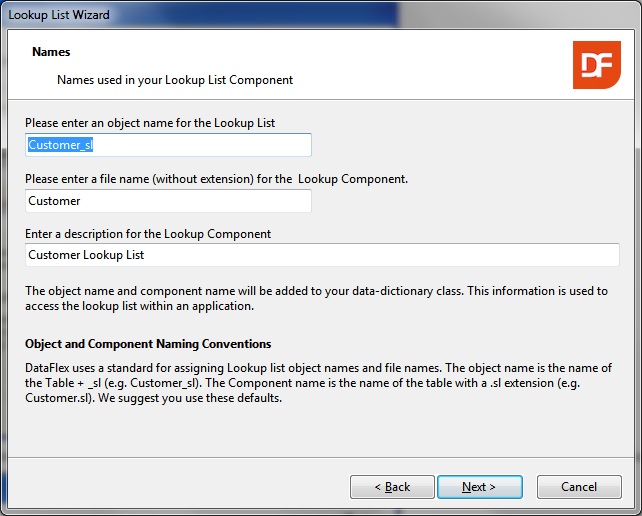
On the Names wizard page, enter Customer_s as the object name, Customer as the filename, and Customer Lookup List as the description, then click Next.
-
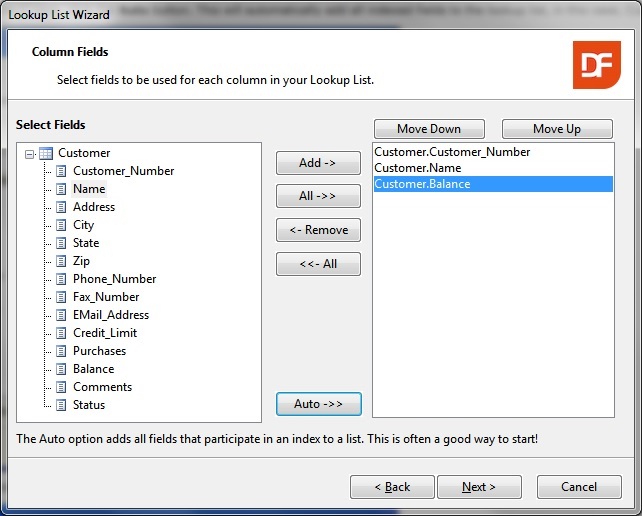
On the "Column Fields" wizard page, click the Auto button. This will automatically add all indexed fields to the lookup list, in this case, Customer_Number, Name, and Balance. Click Next.
-
On the "Column Labels and Preview" wizard page, leave the default column names as they are.

-
You can now click the Preview button to preview what your lookup list is going to look like. This is a great feature, because it allows you to tweak your lookup list layout very easily right here in the wizard before finalizing it.
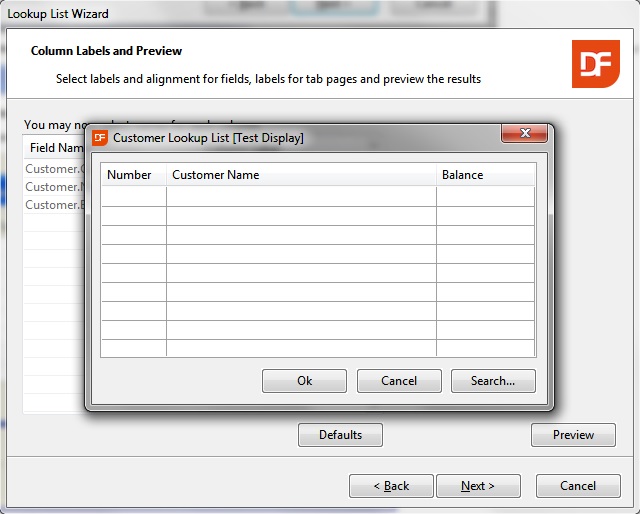
Notice that all column sizes displayed in this preview are approximated depending on their field lengths. Click the X button in the upper right-hand corner of the preview to close it. -
On the "Assign Lookup List to Fields in the Data Dictionary" wizard page, leave the selected columns as they are.

Try the different buttons on this wizard page to see the different results. Most of the time, "Auto Select" is what you want, since it chooses all indexed fields that you have added to the lookup list. Click Next when you are done. -
Click Finish on the last wizard page.
You should now be back in the Studio, with the outline of the newly created lookup list in the Studio's visual designer.
- Now you can test the completed view and lookup list.
Click on the Run button on the Studio's toolbar. The Studio will compile, then run your project. When the application runs, click on the View menu and then Customer Entry to open the view.
At this stage, you have created a fully functioning view and lookup list.
In addition, each field that was checked on the "Assign Lookup List to Fields in the Data Dictionary" wizard page is now associated with this lookup list in the Customer Data Dictionary. So, whenever you add those fields to a data entry view or other component, this lookup list is automatically attached to it.